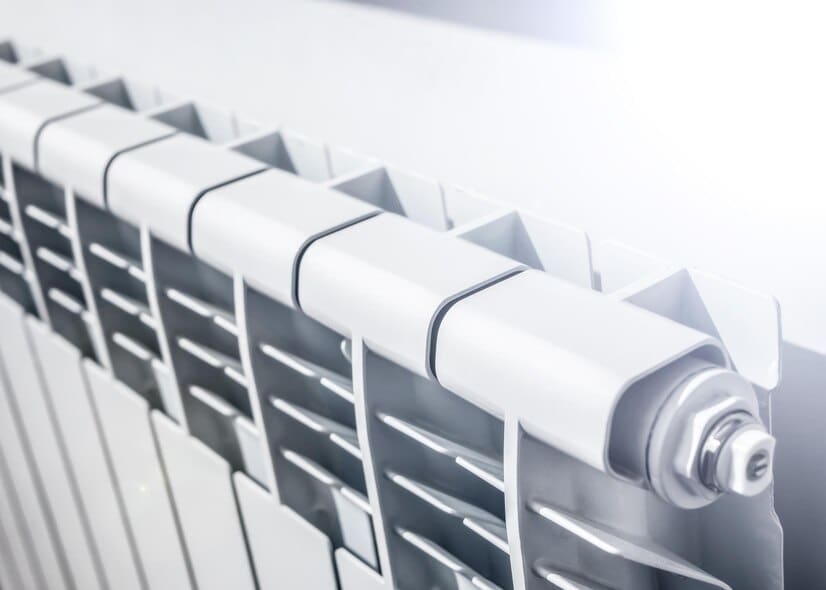
In the automotive world, a properly functioning radiator is the unsung hero of your vehicle’s performance. This critical component is pivotal in keeping your engine cool, ensuring optimal operating conditions. As engines generate heat, a malfunctioning radiator can lead to overheating and a cascade of issues. Recognizing the signs of a failing radiator is crucial for preventing costly repairs and breakdowns. In this blog on how to replace a radiator, we’ll explore the importance of a well-maintained radiator, highlight common failure indicators, and provide a brief overview of the essential steps in the replacement process. Stay tuned for a step-by-step journey to keep your vehicle running smoothly.
Tools And Materials
When tackling a radiator replacement, having the right tools and materials is essential for a smooth and successful process. Whether you’re a seasoned DIY enthusiast or a novice looking to save on repair costs, the proper equipment can make all the difference. Here’s a comprehensive guide to the tools and materials you’ll need:
Essential Tools
- Wrench Set: Various wrenches, including adjustable and socket wrenches, for loosening and tightening bolts.
- Screwdrivers: Both flathead and Phillips screwdrivers for removing screws and other fasteners.
- Pliers: Useful for gripping and securing hoses and clamps during replacement.
- Jack and Jack Stands: Lift the vehicle securely to access the radiator and ensure safety during the procedure.
- Drain Pan: Collect and dispose of the old coolant properly to prevent environmental harm.
- Funnel: A funnel with a wide mouth for easy and spill-free coolant pouring into the radiator.
- New Radiator: Ensure you have the correct replacement radiator for your vehicle make and model.
Optional Tools:
- Hose Clamp Pliers: Facilitates the removal and installation of hose clamps, making the process more efficient.
- Radiator Pressure Tester: Helps identify leaks and ensures the radiator can withstand the cooling system’s pressure.

Where to Find Tools and Materials
You can purchase the necessary tools and materials at your local auto parts store or hardware store. Alternatively, consider renting specialized tools if they are separate from your regular toolkit.
Equipping yourself with the right tools and materials is the first step to a successful radiator replacement. Whether you’re a DIY enthusiast or a first-timer, having the proper equipment ensures a smoother process and contributes to the longevity and efficiency of your vehicle’s cooling system. Stay tuned for the next steps in our guide on replacing a radiator, where we’ll walk you through the process in detail.
Tips And Tricks For Radiator Replacement Success
Embarking on a radiator replacement journey can be a rewarding DIY endeavour, and a few extra tips and tricks can go a long way in ensuring a smooth process. Whether you’re a seasoned enthusiast or a first-time DIYer, consider these insights to make your radiator replacement a resounding success:
- Labelling: Label any hoses or lines before disconnecting them or take clear photos for reference during reassembly. This simple step can save valuable time and prevent confusion when reconnecting components.
- Hose Clamp Pliers: Invest in hose clamp pliers for easy and efficient removal of hose clamps. These specialized pliers make the task less cumbersome and help avoid damage to hoses.
- Radiator Pressure Tester: Consider using a radiator pressure tester before starting the replacement. This tool helps identify leaks in the cooling system, allowing you to address issues proactively.
- Clean Radiator Fins: While the radiator is out, take the opportunity to clean its fins thoroughly. Dust and debris can accumulate over time, hindering optimal heat dissipation. Use a soft brush or compressed air to remove any build-up.
- Use Thread Sealant: When reconnecting transmission more excellent lines, consider using thread sealant to prevent leaks. Ensure a tight seal without over-tightening, as it may damage the threads.
- Check Other Components: While the radiator is out, inspect adjacent components such as the water pump, hoses, and thermostat. If any of these show signs of wear, replace them for a comprehensive cooling system upgrade.
- Bleeding the System: After installing the new radiator and refilling the cooling system, bleed air from the system by opening bleeder valves or running the engine with the radiator cap off. This ensures optimal coolant circulation and minimizes the risk of air pockets.
- Regular Radiator Maintenance: Make radiator maintenance a routine part of your vehicle care. Periodically check for leaks, inspect hose connections, and monitor coolant levels to catch potential issues before they escalate.
- Seek Professional Help When Needed: If you encounter challenges or uncertainties during the radiator replacement process, don’t hesitate to seek professional assistance. It’s better to address issues promptly than risk damaging your vehicle.
Armed with these tips and tricks, you’re better equipped to tackle the radiator replacement process confidently. Stay tuned for our concluding segment, where we’ll wrap up the guide and emphasize the importance of regular radiator maintenance for a reliable and efficient vehicle cooling system.
Final Words
Successfully replacing a radiator involves meticulous steps, from preparation to installation. Recognizing the importance of a well-maintained cooling system is paramount for vehicle longevity. By empowering readers with this comprehensive guide, we aim to instil confidence in tackling radiator replacements independently. Remember, a well-cared-for cooling system ensures your engine runs smoothly, preventing overheating headaches down the road. Take charge of your vehicle’s health and confidently drive on the road ahead.