Plaster, a versatile building material with a rich history, plays a pivotal role in construction and renovation projects. Its widespread use stems from its ability to create smooth, durable surfaces, enhancing structural integrity and aesthetic appeal. However, the key to unlocking the full potential of plaster lies in understanding the crucial aspect of drying. In this blog, we delve into the intricate process of plaster drying, addressing the fundamental question: how long does plaster take to dry? Unravelling this mystery is essential, as it directly impacts the longevity and visual allure of the final product, making proper drying an indispensable step in any building endeavour.
Table of Contents
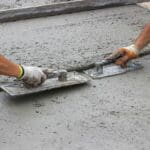
The Plaster Drying Process
Plaster, a staple in construction and renovation, undergoes a fascinating transformation during its drying process. Understanding the intricacies of this phase is crucial for achieving both durability and aesthetic perfection in your projects.
- The Chemistry Behind Drying: Plaster drying is not a mere water evaporation; it involves a chemical reaction. The water in the plaster mix combines with the gypsum or other binding agents, creating a crystalline structure. This process, known as hydration, contributes significantly to the plaster’s strength.
- Factors Influencing Drying Time: Several factors influence how long plaster takes to dry. Humidity is pivotal; higher humidity levels slow the drying process, while low humidity facilitates quicker drying. Temperature is another crucial factor, as warmer conditions accelerate the chemical reactions.
- External Influences: Humidity and temperature aren’t the only external influences. Proper ventilation and air circulation are equally crucial. Adequate airflow expedites the removal of moisture, expediting the drying process.
- Thickness Matters: The thickness of the plaster layer significantly impacts drying time. Thicker applications take longer to dry as the internal layers must be hydrated. Adjusting expectations based on the thickness ensures a more accurate estimate of drying time.
- Achieving the Ideal Conditions: Creating optimal conditions is vital for efficient plaster drying. Controlling environmental factors, such as dehumidifiers in humid climates or heaters in colder temperatures, helps maintain a conducive drying environment.
- Patience Yields Results: While the desire for swift project completion is understandable, patience is vital for plaster drying. Rushing the process can compromise quality, affecting the final product’s strength and aesthetics.
Unravelling the plaster drying process unveils a delicate balance of chemical reactions and environmental factors. By grasping these dynamics, you gain the ability to optimize conditions, ensuring timely project completion and the creation of resilient, visually appealing plaster surfaces.
Average Drying Times For Common Plasters
In the realm of construction and renovation, timing is everything. Understanding the average drying times for standard plasters is essential for project planning and achieving optimal results. Let’s explore the expected drying durations for some widely used plaster types.
Gypsum Plaster
Gypsum plaster, known for its versatility and ease of application, generally exhibits a moderate drying time. On average, it takes anywhere from 1 to 3 days for gypsum plaster to dry completely. This timeframe can vary based on thickness, humidity, and temperature.
Lime Plaster
Lime plaster, favoured for its breathability and compatibility with historic structures, tends to dry more slowly than gypsum. Expect lime plaster to take approximately 3 to 7 days to completely dry. The curing process is gradual but crucial for achieving its characteristic durability.
Cement Plaster
Cement plaster, commonly used for exterior applications, follows a unique drying pattern. While surface drying may occur within a day or two, complete drying and curing may take up to 28 days. The hydration process of cement contributes to its ultimate strength, making patience a virtue in this case.
Clay Plaster
Clay plaster, valued for its eco-friendliness and natural aesthetics, dries relatively quickly. Typically, it takes 1 to 3 days for clay plaster to dry. However, environmental conditions, especially humidity, can influence the drying speed.
Exterior vs Interior Plasters
Drying times can also vary based on the plaster’s intended application. Exterior plasters may take longer due to exposure to external elements, including weather conditions. Interior plasters, shielded from such factors, often dry more quickly.
Testing for Dryness
While average drying times provide a general guideline, confirming dryness before moving forward is crucial. Perform a simple touch test or use moisture meters to ensure the plaster has reached the desired dryness level throughout its thickness.
Navigating the waiting game in plaster drying involves considering the type of plaster used, environmental conditions, and the project’s specific requirements. By understanding the average drying times for standard plasters, you can plan your construction or renovation projects more precisely, ensuring both efficiency and quality.
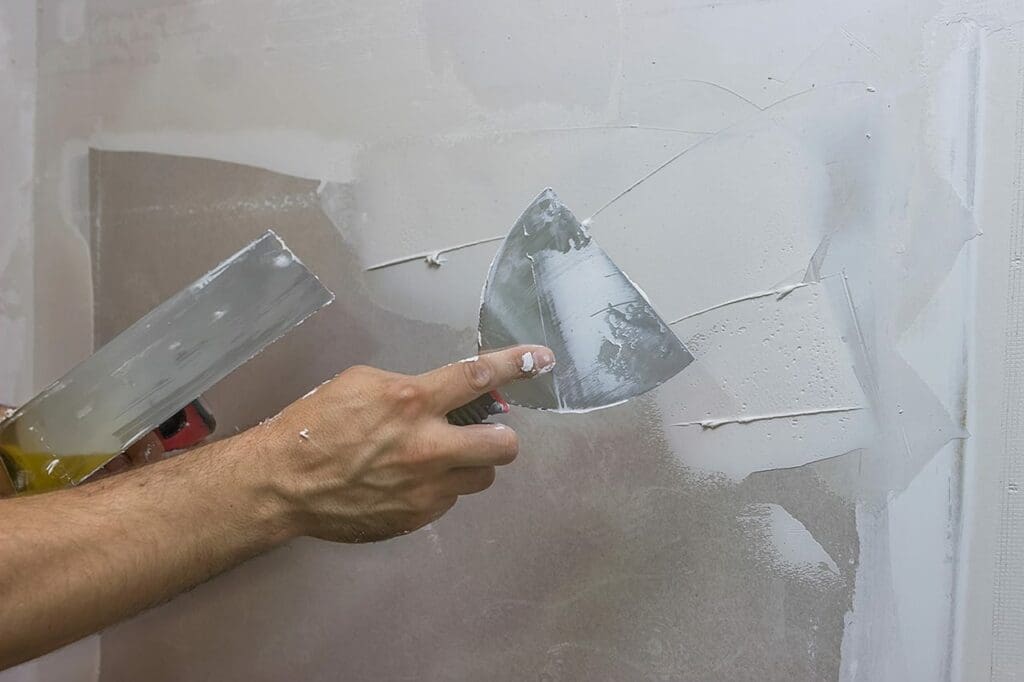
Testing Plaster Dryness
Completing a construction or renovation project requires more than just plaster application; it demands precision in gauging dryness to guarantee structural integrity and aesthetic appeal. Testing plaster dryness is a critical step that should be noticed, and here’s why.
- Visual Inspection: Visual inspection is a fundamental yet effective method of testing plaster dryness. Check for uniform colouration across the plaster surface. Any dark or damp areas indicate residual moisture and incomplete drying. A dehydrated plaster surface should exhibit consistent colour throughout.
- Touch Test: The touch test involves running your hand over the plaster surface. A dry plaster surface feels cool to the touch and lacks any tackiness. If the plaster still feels damp or sticky, drying is incomplete. Exercise caution, especially with thicker plaster layers, as the surface might feel dry while the inner layers are still curing.
- Moisture Meters: Moisture meters can be invaluable tools for a more precise assessment. These devices measure the moisture content within the plaster. Ensure the moisture readings are within the acceptable range before proceeding with additional construction or finishing work.
- Nail Scratch Test: Performing a nail scratch test helps evaluate the hardness of the plaster. A thoroughly dried plaster surface should resist scratches, indicating that it has achieved the desired hardness level. Make sure to distinguish surface dryness from complete curing, especially with plasters that continue to harden over time.
- Time-Lapse Monitoring: While not a direct testing method, monitoring the drying process over time can provide valuable insights. Document the drying stages through photographs or notes, allowing you to observe any changes and identify potential issues that may arise during the drying period.
- Addressing Issues: If any tests indicate incomplete drying, addressing them promptly is crucial. Before moving forward, identify and rectify factors such as high humidity, poor ventilation, or application errors. Failure to do so may lead to compromised structural integrity and cosmetic imperfections.
Testing plaster dryness is a meticulous yet necessary aspect of any construction or renovation project. Whether employing simple visual checks or utilizing advanced moisture measurement tools, ensuring that plaster has dried adequately sets the foundation for a successful and enduring finish. Prioritize this crucial step, and you’ll reap the rewards of a structurally sound and visually pleasing result.
Practical Tips For Managing Drying Time
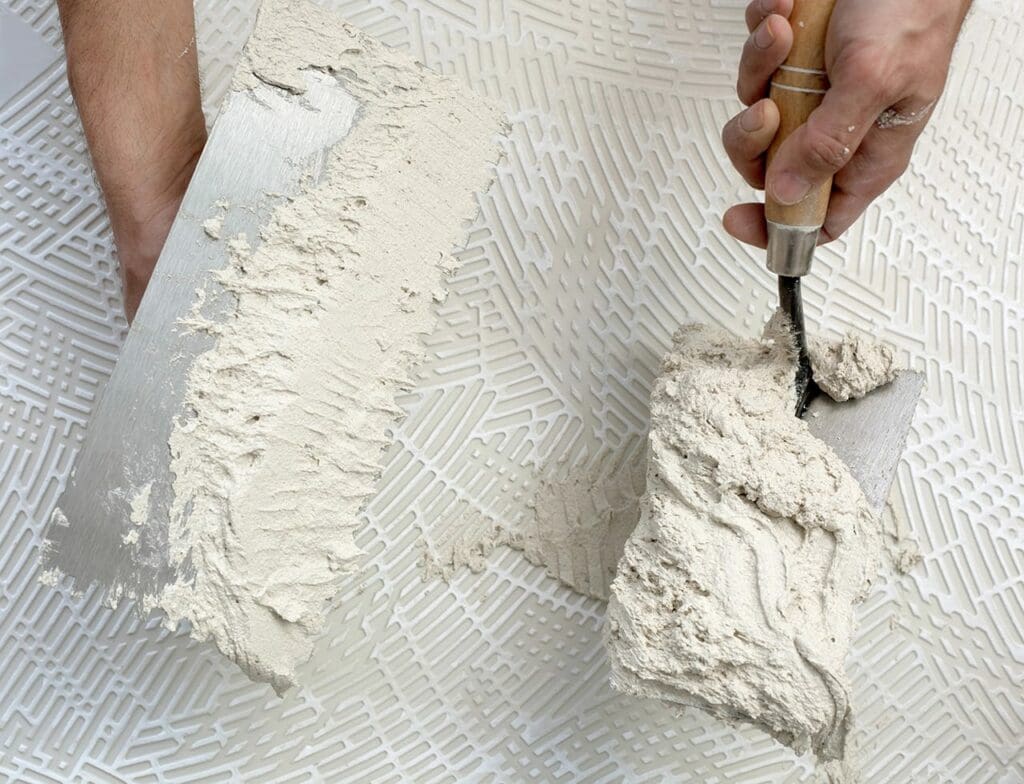
In the world of construction and renovation, managing drying time effectively is a crucial aspect that directly impacts the quality and efficiency of your projects. Whether you’re working with gypsum, lime, cement, or clay plaster, implementing practical tips can streamline the drying process and contribute to the success of your endeavours.
Optimal Environmental Conditions
Creating the right environment is paramount for efficient drying. Control humidity levels using moist dehumidifiers and maintain moderate temperatures. Adequate ventilation promotes air circulation, expediting moisture removal from the plaster.
Accelerating Cement Plaster Drying
While patience is essential for cement plaster curing, you can accelerate the drying process by applying heat strategically. Use heaters or fans to maintain a warmer environment, promoting faster hydration. Ensure, however, that the temperature increase is gradual to avoid cracks.
Humidity Monitoring
Regularly monitor humidity levels during the drying process. Moisture meters can provide accurate readings, allowing you to adjust environmental conditions. Keeping humidity within an optimal range helps prevent prolonged drying times.
Timing and Scheduling
Plan your projects with drying times in mind. Factor in the specific drying characteristics of the plaster type, allowing sufficient time for each layer to dry before moving on to the next phase. A well-thought-out schedule minimizes delays and ensures a smooth workflow.
Test for Dryness
Before proceeding with subsequent construction or finishing work, conduct thorough tests to confirm that the plaster has dried adequately. The touch test and moisture meters are reliable methods to assess dryness and prevent potential issues in later stages of the project.
Patience and Quality Control
While it’s natural to desire swift project completion, patience is a virtue in plaster drying. Rushing the process can compromise the quality of the finish. Prioritize quality control, allowing the plaster to dry thoroughly before proceeding with the next steps.
Mastering the art of managing drying time involves a combination of environmental control, strategic planning, and a keen understanding of the plaster type in use. By implementing these practical tips, you empower yourself to achieve optimal results in your construction and renovation projects, ensuring both efficiency and the longevity of the finished product.
Final Words
In wrapping up our exploration of plaster drying, it’s crucial to recall key factors influencing drying time—humidity, temperature, plaster type, and application thickness. To ensure project success, meticulous attention to these variables is non-negotiable. Emphasizing the significance of following proper procedures is not merely a recommendation but a cornerstone for achieving optimal results in construction and renovation endeavours. Precision in handling drying times is the key to durability and visual excellence in your finished plaster surfaces.